


A Quick Guide to Building a Cold Frame for Winter Use
As the days grow shorter and the temperatures plummet, your garden may seem like a dormant landscape. But beneath the frost, a world of possibilities awaits. With a cold frame, you can extend your gardening season and enjoy fresh vegetables even in the depths of winter. These low-cost structures trap heat from the sun, creating a microclimate that protects your plants from harsh weather. Let's dive into the process of building your own cold frame, step by step.
Choosing the Right Location
Before you start gathering materials, find the ideal spot for your cold frame. Choose a sunny location that receives at least six hours of direct sunlight each day. Consider the prevailing winds in your area and position your cold frame to minimize wind exposure. Make sure the ground is level and well-drained to prevent water buildup. If you have a south-facing wall, that can also provide additional warmth.
Gathering the Materials
You can construct a cold frame from various materials. Here's a basic list for a simple cold frame:
- Wood: Use pressure-treated lumber for the frame, as it's resistant to rot. Choose 2x4s or 2x6s for the frame and 1x6s or 1x8s for the sides.
- Glass or Polycarbonate Panels: These will act as the cover for your cold frame. Glass offers excellent light transmission but is more fragile, while polycarbonate is lighter and stronger.
- Screws, Bolts, and Hinges: Use rust-resistant screws or bolts to assemble the frame and hinges to create a secure lid.
- Silicone Sealant: Apply sealant around the edges of the cover to prevent water leaks and drafts.
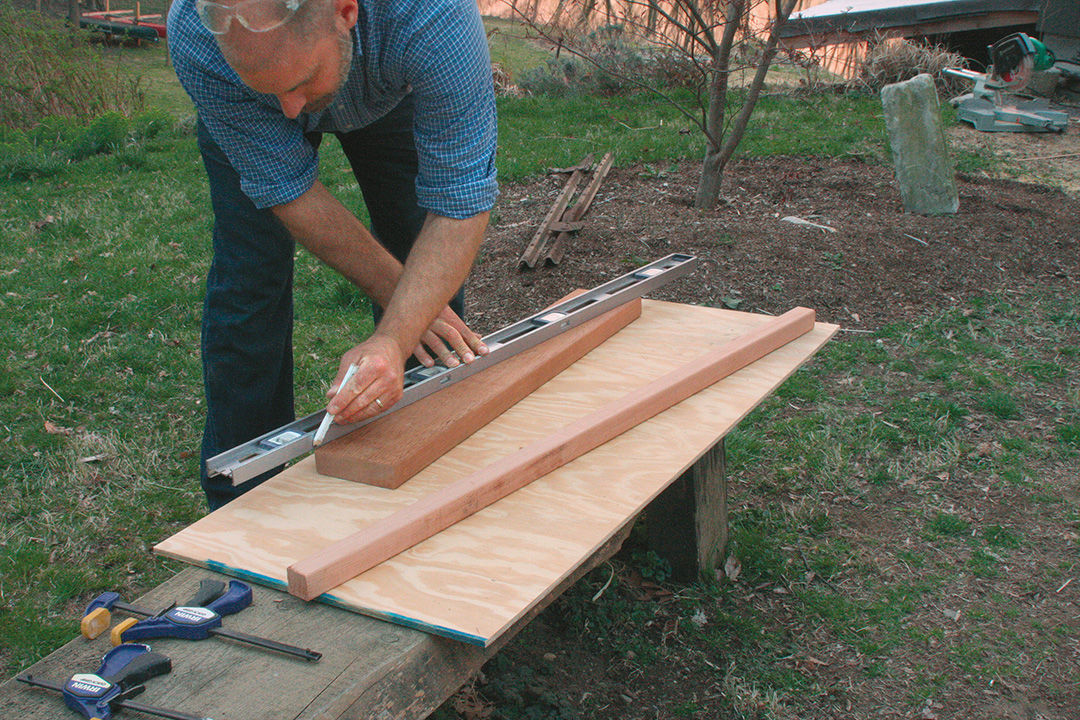
Building the Structure
Now, let's build the foundation of your cold frame. Begin by cutting the wood for the base according to your desired size. Assemble the base by screwing or bolting the pieces together, creating a rectangle or square. Then, construct the sides of the cold frame using the remaining wood, ensuring they fit snugly against the base. Attach the sides to the base with screws or bolts.
Adding the Cover
With your frame complete, it's time to install the cover. Measure the dimensions of the top opening and cut your glass or polycarbonate panels to size. Use silicone sealant around the edges of the panels and attach them to the frame with hinges. You can create a simple frame to hold the glass or polycarbonate panel in place. Use wood for the frame and attach it to the structure. Consider a hinge to allow for easy opening and closing of the cover.
Preparing Your Cold Frame
Before you start planting, prepare the soil inside your cold frame. Remove any weeds and loosen the soil with a garden fork. Add a layer of compost or manure to enrich the soil and improve drainage.
Planting and Maintenance
Now, you're ready to start planting! Choose winter-hardy vegetables like lettuce, spinach, kale, and radishes. Space your seedlings according to their specific needs. Water your plants regularly, but avoid overwatering. Check your cold frame daily to monitor temperature and humidity levels. You can adjust the cover or add ventilation as needed.
Building a cold frame is a rewarding project that unlocks a world of gardening possibilities. With a little effort, you can create a haven for your plants, extend your growing season, and enjoy fresh produce even in the coldest months. So, get out there and start building!


0 comments:
Post a Comment
Note: Only a member of this blog may post a comment.