


Hey there, art lovers! So you've got this amazing piece of art, a masterpiece you want to showcase, but it's just sitting there, naked and vulnerable. It's time to give it the royal treatment â€" a custom-made wooden frame! Building one isn't rocket science, trust me. It's a fun project that lets you unleash your inner artisan and create a frame that's as unique as the artwork itself.
Let's break down this DIY adventure into manageable steps, because you've got this!
Step 1: Sizing Up the Situation
First things first, measure your artwork like you're a detective on the case. Grab your trusty tape measure and get the precise dimensions of the artwork:
Height: Measure from the topmost point to the bottommost point. Don't forget to account for any uneven edges or interesting textures.
Width: Measure across the widest part of the artwork, from edge to edge.
Depth: For three-dimensional art, measure the thickness.
Now, you gotta decide how much "breathing room" you want around your artwork. This is the "matting" area. Here's a handy tip: aim for about 1-2 inches on each side for a classic look. More matting gives a more minimalist feel, while less matting makes the artwork pop more.
Step 2: Choosing Your Wooden Companions
Time to pick your perfect frame components! Head to your local lumberyard, or get online and explore the world of wood. Consider these factors:
Wood Type: Think about the style of your artwork. Want a classic, timeless look? Go with oak, walnut, or mahogany. Looking for something more rustic? Pine or cedar are great choices. For a modern vibe, you can even consider painted MDF (medium-density fiberboard) or plywood.
Wood Thickness: The thickness impacts the frame's overall size and weight. A thicker frame can feel sturdier, while a thinner one can be more delicate. Aim for 1-1.5 inches for most artwork, but feel free to experiment.
Wood Profile: This refers to the shape of the frame's cross-section. You can find classic flat profiles, elaborate ornate styles, or even sleek, contemporary designs. Play around with different profiles and see what catches your eye. Remember, the profile should complement the style of your artwork.
Step 3: Cutting Your Frame Pieces
Now for the serious stuff! Grab your miter saw or a circular saw and start making those precise cuts.
Calculate Your Measurements: Remember the artwork dimensions and the matting you decided on? Add them together, accounting for the wood's thickness (you might need to make slight adjustments for the miter cuts).
Measure Twice, Cut Once: You don't want to make a mistake here, so measure twice, maybe even thrice, before cutting.
Miter Cuts: For a seamless frame, you need 45-degree miter cuts. Practice on scrap wood first to make sure you're comfortable with the miter saw.
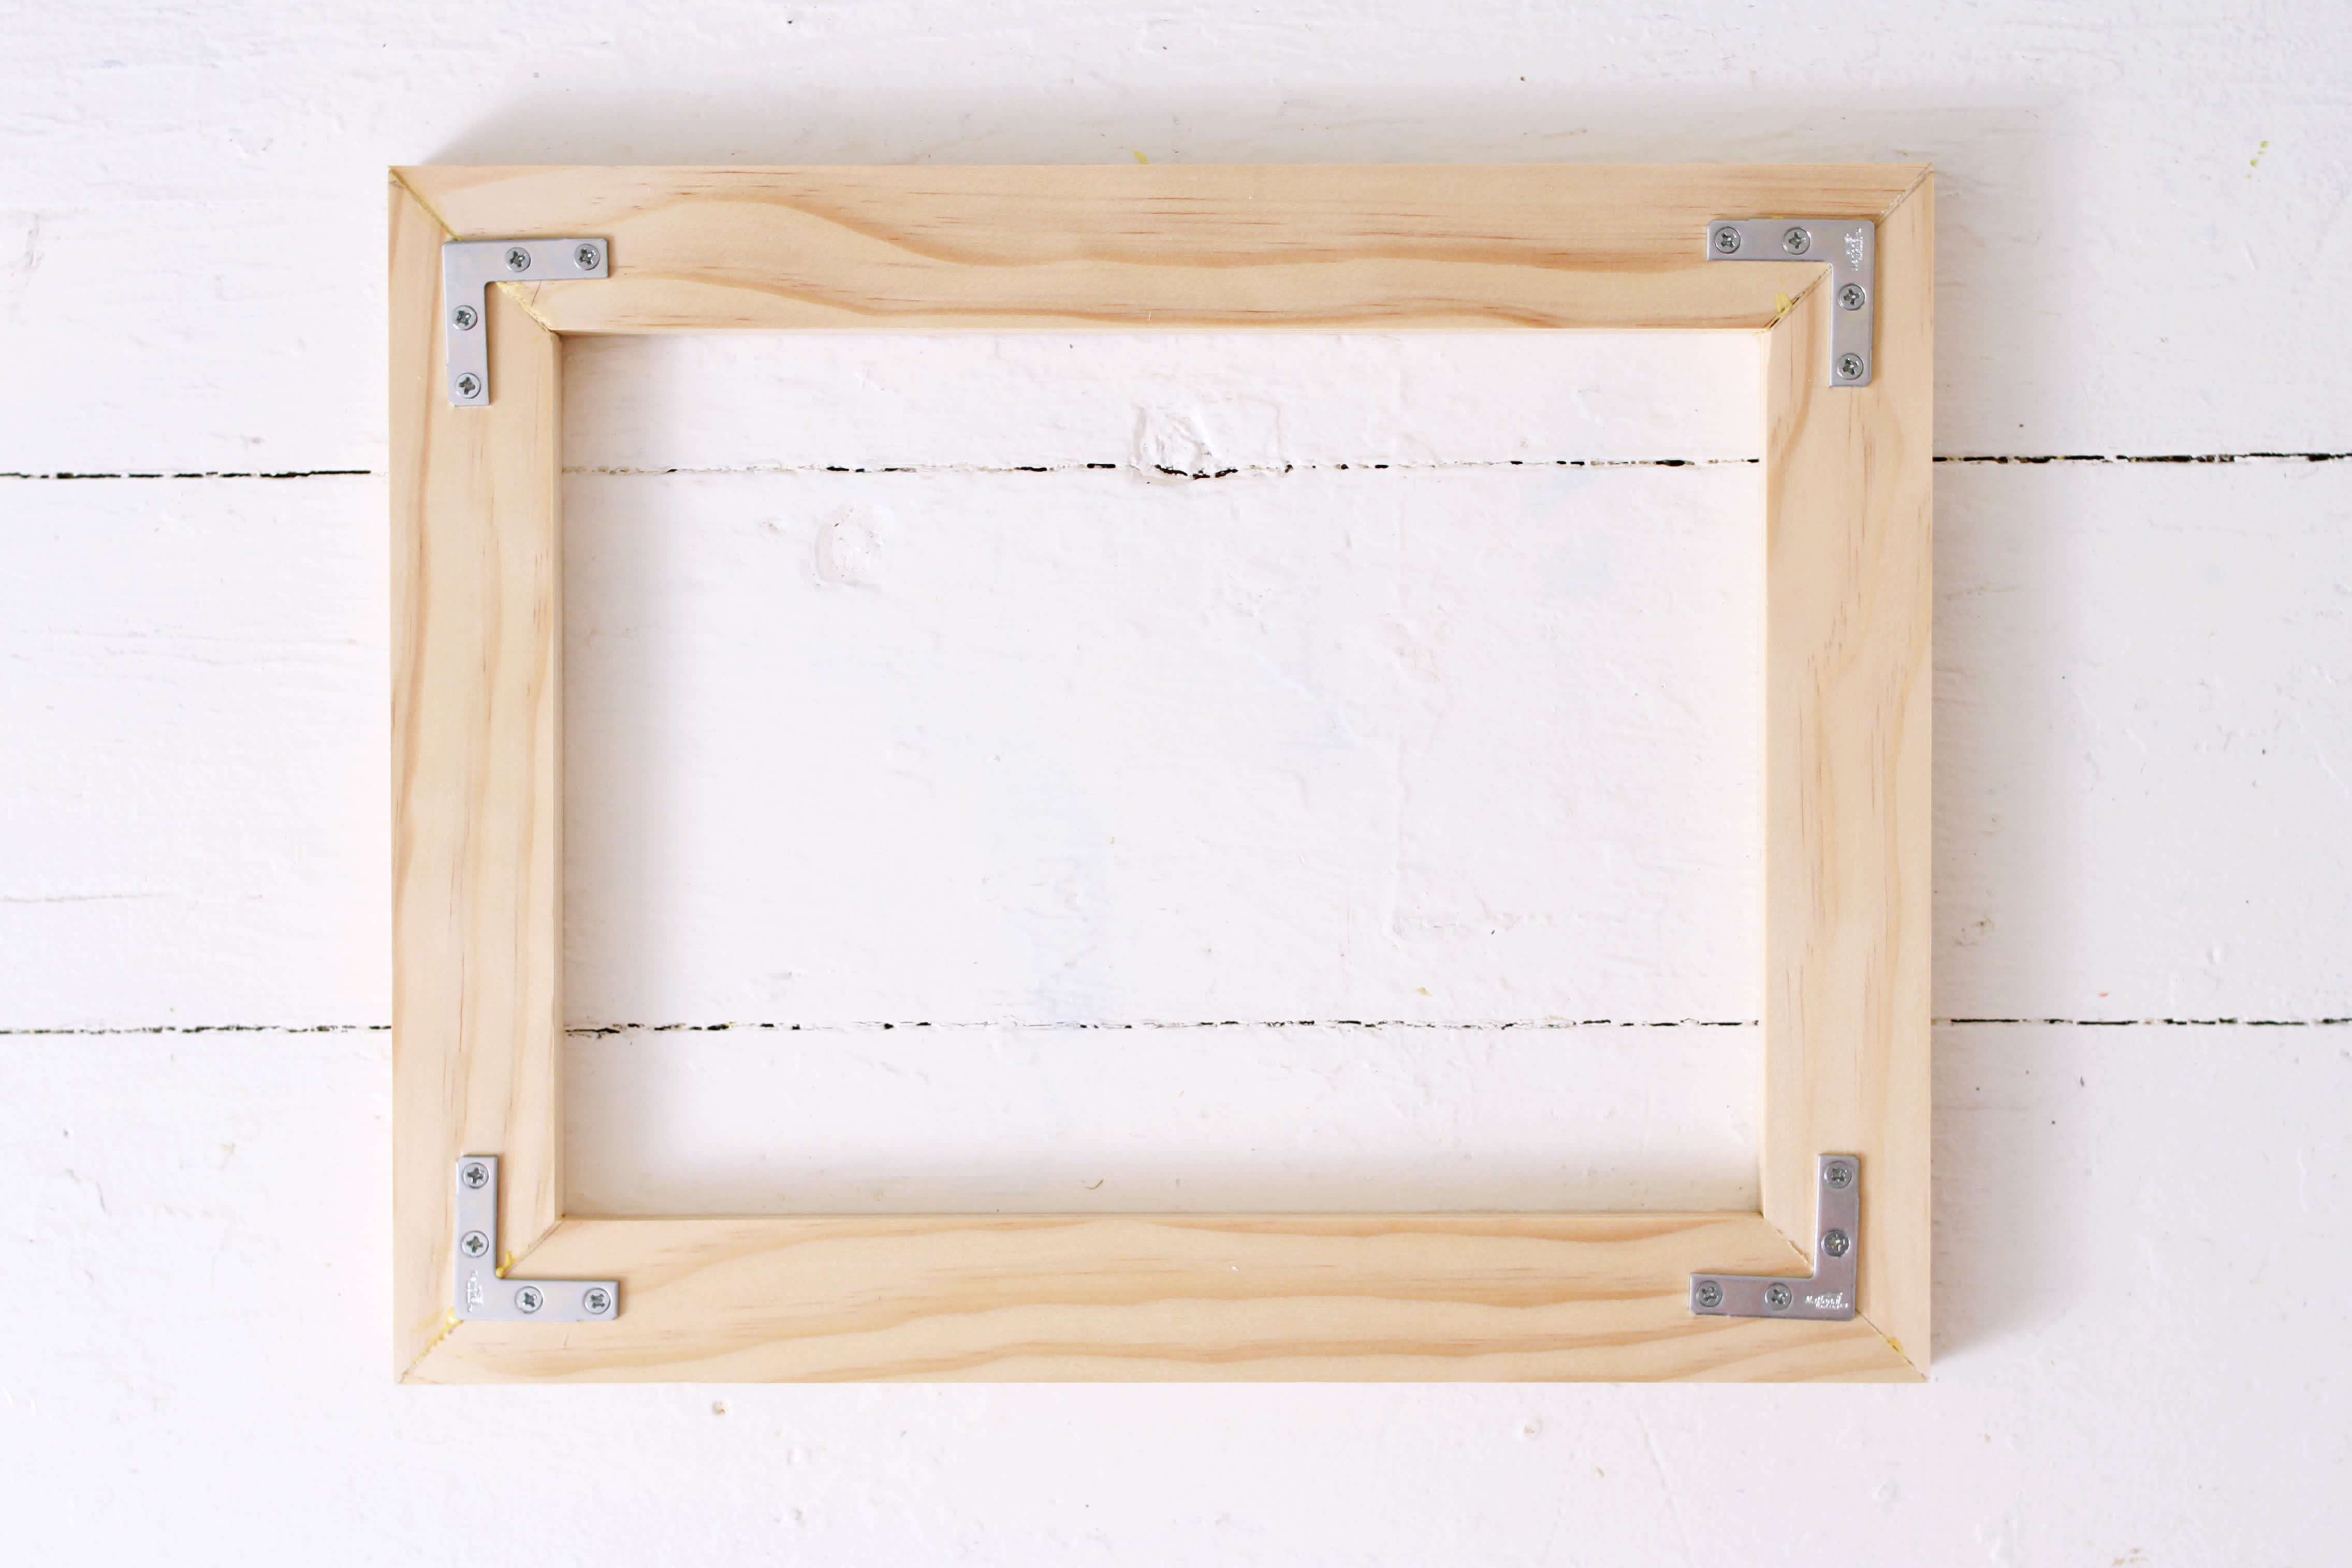
Step 4: Assembling the Frame
Now comes the fun part! This is where you see your frame start to take shape.
Dry Fitting: Before glueing anything, assemble the frame pieces without glue to make sure everything fits perfectly. Adjust any angles as needed.
Glue It Up: Use a quality wood glue specifically designed for framing. Apply glue generously to all miter joints. Clamp the frame pieces together with strong clamps, ensuring even pressure across all sides.
Let It Dry: Give the glue ample time to dry completely. Follow the manufacturer's instructions for curing time.
Step 5: Finishing Touches
Your frame is almost ready to show off your masterpiece! Here's how to make it shine:
Sanding: Sand down any rough edges and imperfections. Start with coarse-grit sandpaper and gradually work your way to fine-grit to achieve a smooth finish.
Finishing: Choose a finish that matches your frame's style. You can go for a natural stain to enhance the wood's grain, a painted finish for a more contemporary look, or a clear varnish for a polished shine.
Hardware: Select the right hanging hardware for your artwork's weight. You can find a variety of hooks, D-rings, or sawtooth hangers at your local art supply store.
Step 6: Mounting the Artwork
Finally, you're ready to unveil the masterpiece!
Matting: If you're using matting, measure and cut the matboard according to your artwork's dimensions. Center the artwork on the matboard.
Attaching the Artwork: Choose a suitable method for attaching your artwork to the mat board. You can use archival-quality tape, acid-free mounting corners, or even museum-grade mounting techniques.
Securing the Mat: You can secure the mat board in the frame using a backing board and archival clips, or by attaching it directly to the frame using archival-grade tape.
And that's it! You've now created a custom-made wooden frame for your favorite artwork. Take a moment to admire your handiwork and revel in the joy of creating something beautiful.
Bonus Tips:
Keep it Clean: Use a microfiber cloth to dust your frame regularly and keep it looking its best.
Protect from Sun Damage: Keep your framed artwork out of direct sunlight to prevent fading.
Don't Overdo It: A simple, well-crafted frame will make your artwork shine, but don't get carried away with excessive ornamentation. Let the artwork be the star of the show.
Building your own wooden frame is a rewarding experience, letting you create a piece that perfectly complements your treasured artwork. So go ahead, embrace your inner artist, and frame your world!


0 comments:
Post a Comment
Note: Only a member of this blog may post a comment.