


Crafting a Statement Piece: A Comprehensive Guide to Building a Large Wooden Wall Clock
Beyond merely telling time, a wall clock can serve as a captivating focal point, enhancing the aesthetic appeal of any space. A large wooden wall clock, crafted by your own hands, adds a touch of rustic charm and personalized flair to your home decor. This guide provides a comprehensive walkthrough, empowering you to build your own unique timepiece.
Step 1: Gathering Your Materials
Before embarking on your woodworking journey, ensure you have all the necessary components. The specific materials may vary depending on your desired style and size, but here's a general list:
Wood
Hardware
Step 2: Planning and Designing Your Clock
With materials in hand, you can begin designing your clock's appearance. Here's a breakdown of key considerations:
Size and Shape
Determine the desired size and shape of your clock face. Larger clocks tend to be more impactful, while smaller clocks can be more understated. Consider the space where you plan to hang the clock and its overall aesthetic.
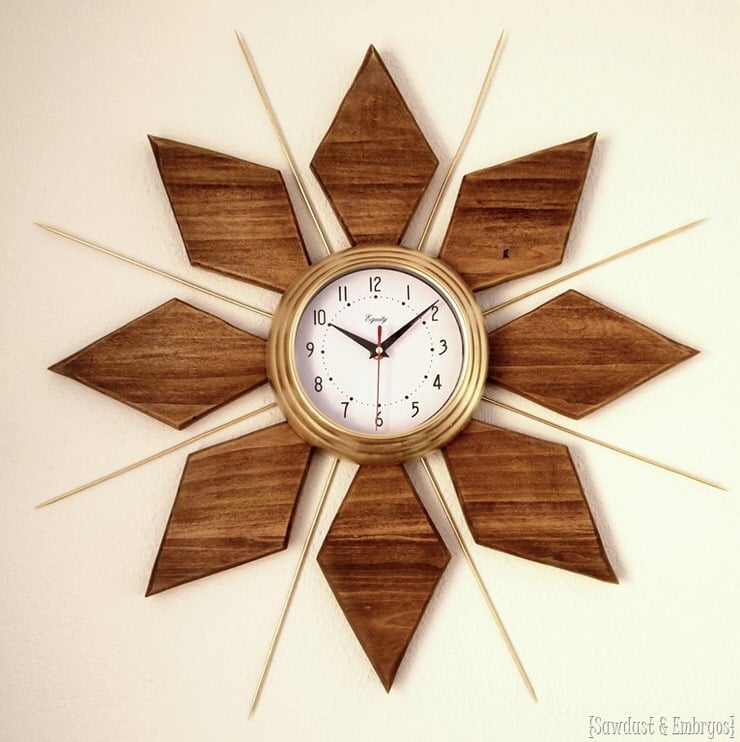
Style
Choose a style that complements your home decor. Some popular choices include:
Numbers
Decide whether you want numbered markings and if so, what style. Choose from Roman numerals, Arabic numerals, or custom-designed numbers. You can also create a minimalist design without any numbers.
Hands
Select hands that complement the size and style of your clock face. Consider their length, thickness, and design details.
Sketching
Create a rough sketch of your clock design, outlining the dimensions, shape, and placement of key elements. This will help you visualize the finished product and refine your plan before you start cutting wood.
Step 3: Building the Clock Face
Now that your design is finalized, it's time to assemble the clock face. Here's a step-by-step guide:
Cutting the Wood
Using a saw (circular, jigsaw, or table saw), cut your chosen wood to the desired dimensions for the clock face. Ensure precise measurements for a clean and symmetrical design.
Smoothing the Edges
Once cut, sand the edges of the wood with varying grits of sandpaper to create a smooth, even finish. You can choose a rounded, straight, or slightly bevelled edge, depending on your aesthetic preferences.
Creating the Clock Movement Mount
If using a clock movement mounting plate, attach it to the back of the clock face. This will provide a sturdy base for the clock mechanism and ensure a secure fit.
Adding Numbers (Optional)
If using numbers, position them around the clock face at equal intervals. Mark their positions with a pencil and then attach them using wood glue or small nails. Allow the glue to dry completely before proceeding.
Step 4: Installing the Clock Mechanism
The clock mechanism is the heart of your timepiece. Here's how to install it correctly:
Mounting the Mechanism
If using a mounting plate, the mechanism should fit snugly into it. If not, attach the clock mechanism to the back of the clock face using screws provided with the mechanism. Ensure the hands line up with the mechanism's mounting points.
Installing the Hands
Attach the clock hands to the mechanism using the provided screws. Ensure the hands are securely fastened and aligned with the mechanism's mounting holes. You may need a screwdriver or other tool to tighten the screws securely.
Setting the Time
Set the time using the winding knob on the back of the clock mechanism. The clock mechanism will also likely require a battery to power it. Install the battery according to the manufacturer's instructions.
Step 5: Finishing Touches
The finishing touches are what truly elevate your handmade clock to a unique masterpiece. Here are some options to consider:
Sanding and Refinishing
Sand the entire clock face again to smooth out any imperfections and create a consistent finish. You can use a finer grit sandpaper for a smoother look. Apply wood stain or paint to achieve your desired color and finish. Let the stain or paint dry completely before applying a protective coating.
Adding Detail and Texture (Optional)
Consider adding decorative elements to your clock face. This could include:
Adding a Hanger
Attach a sturdy hanger to the back of the clock face to allow for easy hanging. Ensure the hanger can support the weight of the clock and is positioned appropriately for a balanced hang.
Step 6: Displaying Your Masterpiece
Your handcrafted clock is now ready to take its place as a focal point in your home. Choose a location that complements the size and style of your clock and ensures it is easily visible. Take pride in your accomplishment â€" you have created a unique and beautiful statement piece that will be admired for years to come.


0 comments:
Post a Comment
Note: Only a member of this blog may post a comment.